Now that we’re into the height of Summer in the Northern Hemisphere, the fresh garden produce overfloweth. In the farmer’s markets and in the local grocers there is a rainbow of colours and flavours to choose from. In the edible landscape, gardens are in their glory, fruit trees and berry bushes are putting out their bounty, and the veggies are at peak production.
After the hustle of spring, building soil and tending to young seedlings, summer is when we really start to see the hard work pay off! However, this is not the time to just sit back and eat. Well, it is, but it’s also the time to plant your fall and winter vegetables and to preserve the summer harvest!
Storing food for fall and winter goes hand in hand with growing a garden. Although it can feel overwhelming and time-consuming to preserve your harvest, eating summer’s abundance in winter does make it worth it (especially in these uncertain times we find ourselves in with food prices going up, and food access decreasing).
There are many different low energy techniques for food preservation that can make the process easy and enjoyable and even more nutritious. The food preservation video above takes a brief look at some of the methods we use.
Here is a written breakdown of 2 of our favourite and most used techniques that we use to preserve garden and farm produce:
1.Fermentation
This is a massive subject and lucky for us so much information can be found online and in books about the health benefits, techniques and cultural traditions of fermented foods. This blog post by Cultures for Health gives a good breakdown of the how’s and why’s. Also, check out this detailed and informative blog called How to Ferment Vegetables: The complete guide to living a natural probiotic lifestyle from City Homesteads.
I’m a big fan of fermentation guru Sandor Katz and recommend to anyone interested in fermenting to read his books, follow his social media accounts, and if you’re really keen and nerdy watch the fantastic youtube series he’s in called the People’s Republic of Fermentation. He also has a new book coming out in the Fall that looks interesting called Fermentation as Metaphor.
The subject of fermenting is so vast but what I’m going to just briefly touch on here is the fermentation of vegetables (these same methods can also be used for fruit!).
In our garden, we incorporate fermenting produce into each season, but especially in the summer and fall when the bounty is really on.
The main ingredients for fermenting are vegetables, salt, and time (sometimes water too). Something to keep in mind when fermenting is that the process will happen quicker in warmer weather and slower when it’s cooler, you can counteract the fast fermentation by using a bit more salt during the warm months.
My basic vegetable fermentation method is as follows:
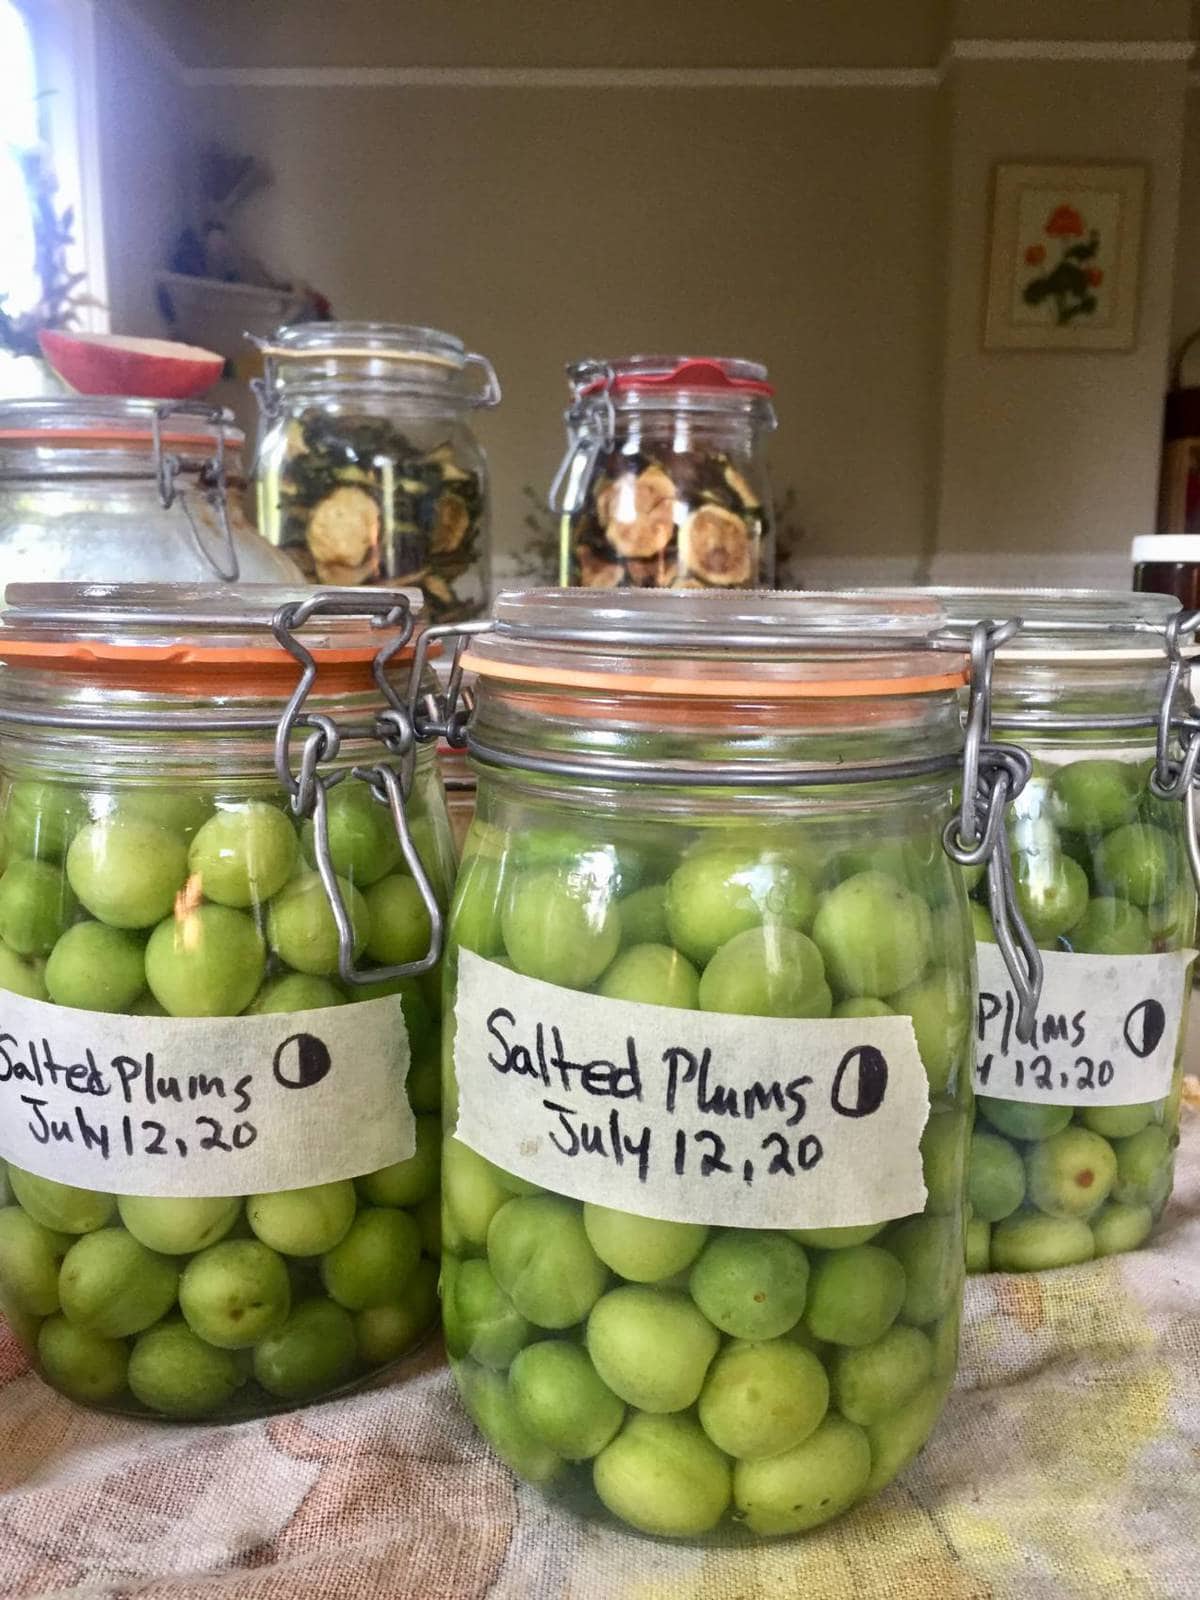
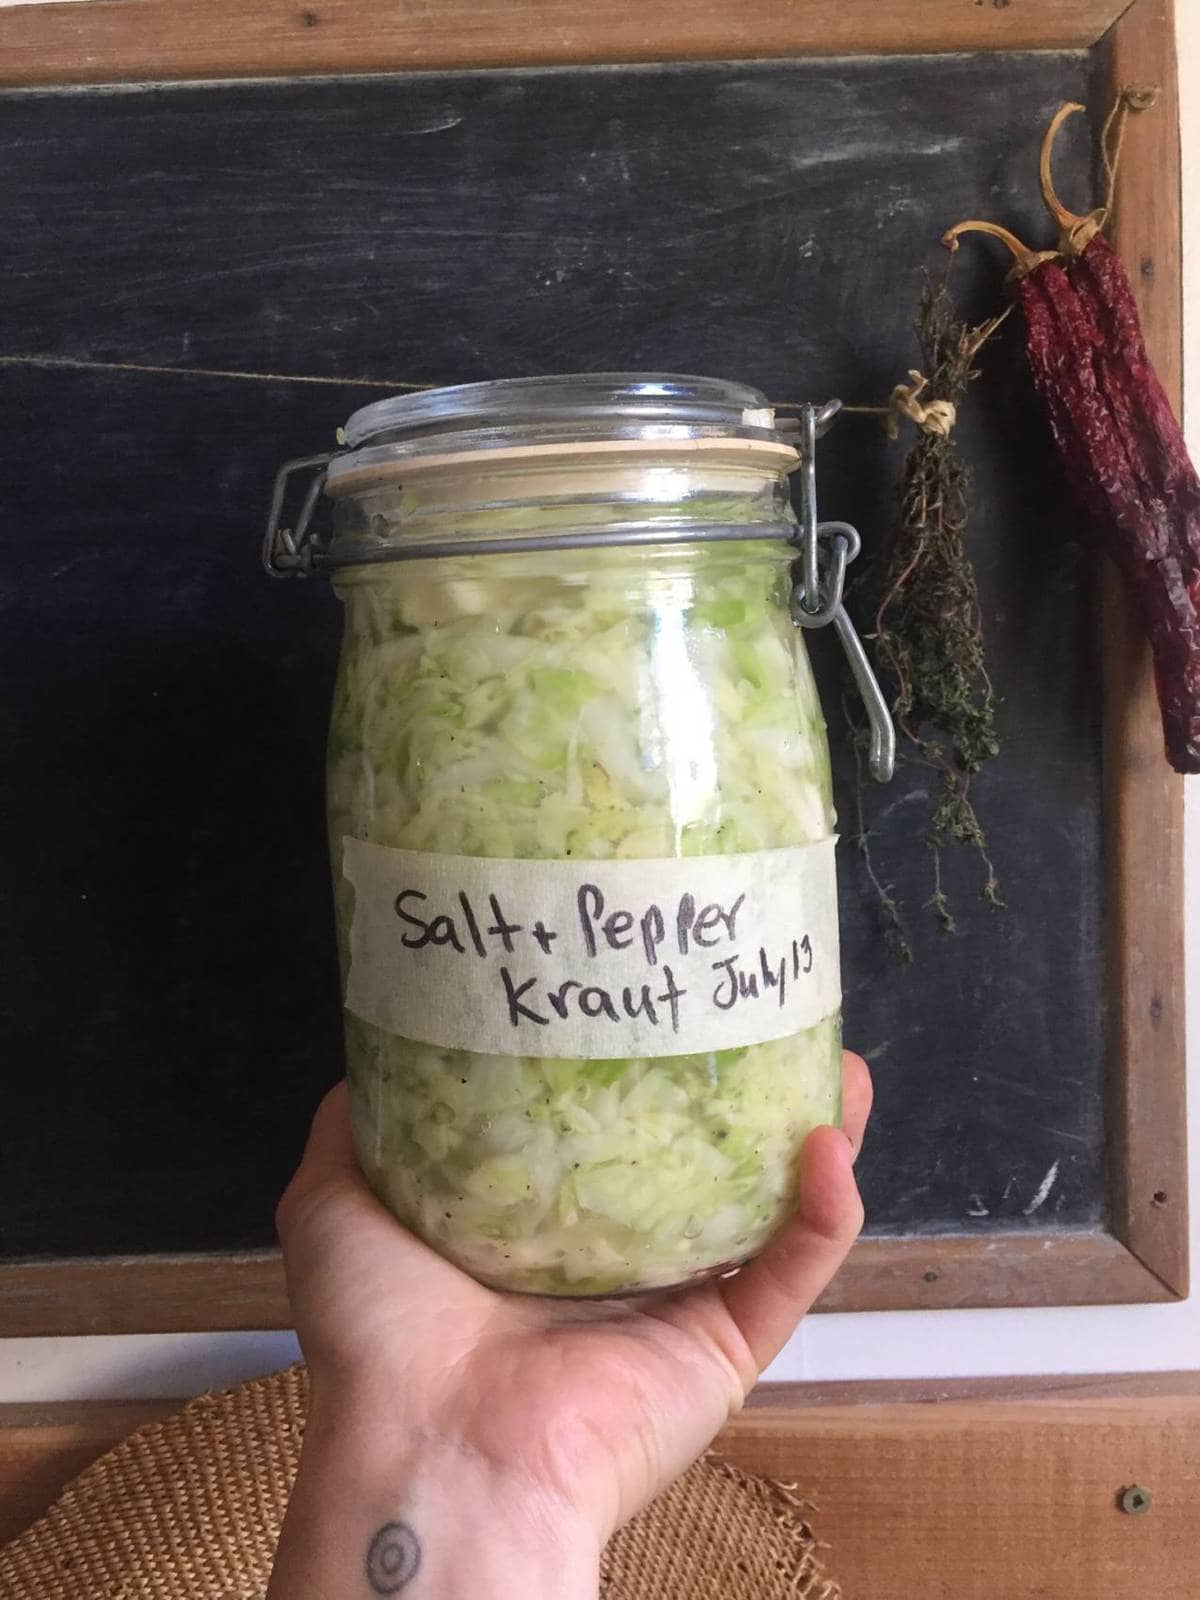
Clean your veggies, chop them up (sometimes I grate them), put the chopped veg into a large bowl, add 2-5% salt and let that sit for an hour or so to allow for the moisture to begin to release. Then, pack them in a fermentation jar* and forget about them for at least several weeks.
You can also add vegetables to a jar and fill the jar with a salt and water brine. This is a good method for produce you aren’t chopping up, such as cucumbers (fermented pickles!), or those with lower water content. (see the sidebar photos for examples). It’s important that the vegetables are submerged in the brine so that no mould grows on the surface.
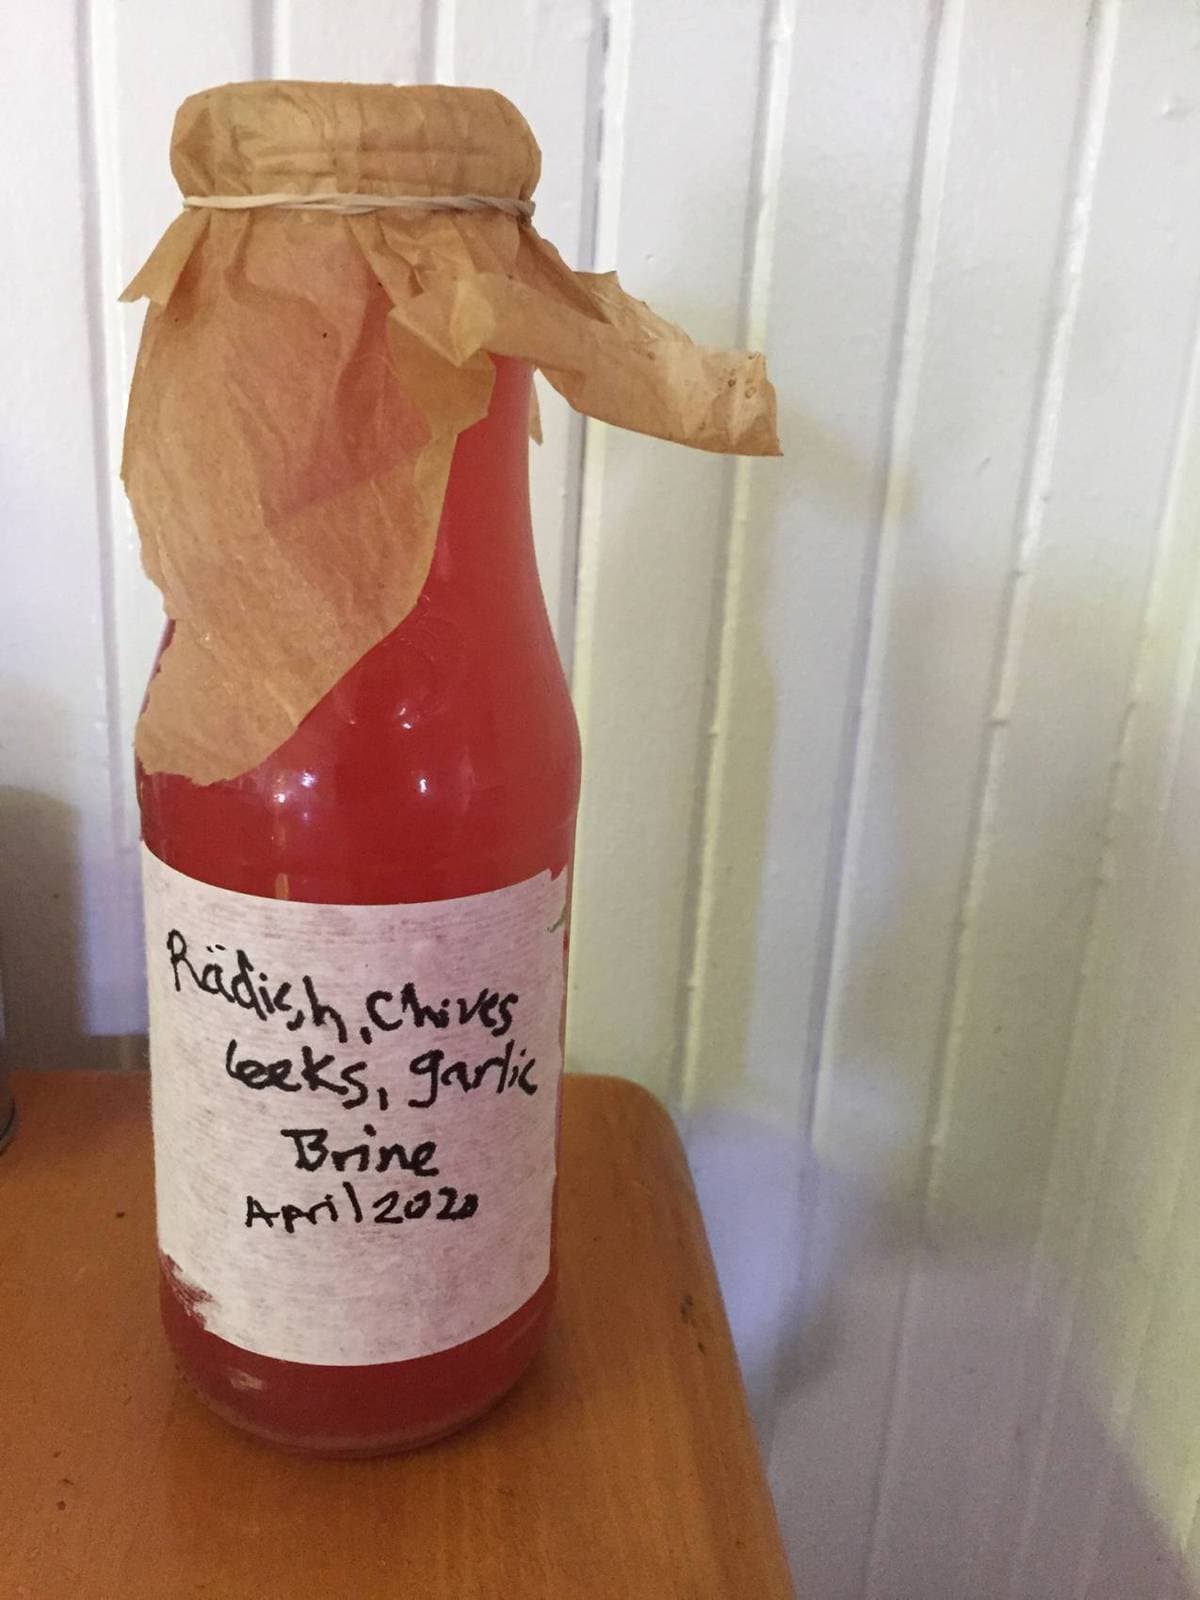
We like to save the leftover brine from our ferments to use to kickstart the next batch of fermented veggies, as well as in soups and stews, or even to mix with water as a refreshing probiotic drink.
*We use airlock jars for small-batch fermentation which we find second hand (you can get new replacement rubber bands at hardware stores). There are many (many!) different vessels for fermentation including beautiful clay crocks or special mason jar lid attachments. You can also just use recycled jars with the lid not fully attached so that the gasses can escape without exploding your jar (yes this can happen!). Experiment with your chosen produce and your chosen vessels!
2. Drying
A few years ago our friend Gord Baird from Eco-Sense built us a solar dehydrator which we use pretty consistently during the sunny months for herbs and veg. We also have two electric dehydrators that we use for veggies and fruit, these are relatively low cost to purchase and use minuscule amounts of energy to run. Getting into the rhythm of loading up the dehydrators leaving them for several hours (or days in the solar dryer) and then packing the goods into jars is part of our weekly (and daily) habit during peak produce season.
This year as we have such an abundance of summer squash we’ve been making zucchini chips which we marinate with Tamari and sesame oil and then put into the electric dryer. They are so delicious and are a good way to save and eat the incredible vegetable (well technically a fruit) that is zucchini!
Dehydrating leafy greens, veg and culinary herbs can be blended together for winter soups and broths. A super nutritious and delicious addition to winter meals, as well as a good emergency preparedness tip in case a cold winter or weather event destroys your fresh veg crop, or if it’s difficult to access fresh local produce where you live.
Both fermenting and dehydrating garden produce are excellent low-tech / low cost ways of ensuring that your homegrown and local food will last more than just one season. You’ll be so thankful that you went that little extra mile when you open a delicious jar of fermented garlic scapes or pickles or make soup from your dehydrated summer squash.

Fermented Zucchini Relish
1-2 large zucchini
2 cloves of garlic
1 hot pepper or handful of nasturtium flowers (or both)
1-2 tbsp Salt (I salt to taste, should be salty but not too salty!)
1 tbsp Mustard seed
1 tsp turmeric powder
Grate zucchini into a bowl and add the salt.
Let sit for several hours to pull out access moisture. Pour off moisture.
Add all of the other ingredients, mix and pack into an airlock jar (or another fermentation vessel)
Let sit for 3-5 days to several months. The flavour will develop over time, taste periodically to see how it is, once you’re happy with the flavour, pop it into the fridge and then use it as a delicious/nutritious condiment. (Super yummy on tacos, bbq’s meats, with eggs or straight out of the jar).
Here are a few other resources to inspire your food preservation journey:
https://www.newyorker.com/culture/kitchen-notes/how-to-ferment-blueberries-like-rene-redzepi
https://modernfarmer.com/2020/03/born-to-be-wild-qa-with-master-forager-pascal-baudar/
https://www.nytimes.com/video/opinion/100000003819616/sandorkraut-a-pickle-maker.html


Looking forward learning
Love all these ideas! I have only just started fermenting and am still learning. I have only made some fermented pickles and they came out pretty good. I have added to my spice collection and started a small garden to grow cucumbers. So, I am hoping my next batch will be even better.